1. Understanding ESP32 GPIO Basics
- General Purpose Input/Output (GPIO) Concept
- The ESP32 is equipped with multiple General Purpose Input/Output (GPIO) pins. These pins serve as the interface between the microcontroller and external devices. They can be configured to perform a wide range of functions, such as reading sensor data, controlling actuators, and communicating with other devices.
- Pin Multiplexing
- One of the key features of the ESP32 is pin multiplexing. This means that a single GPIO pin can be assigned to different functions. For example, a pin can be used for digital input, analog input, serial communication, or other specialized functions.
2. Configuring GPIO Pins for Digital Input
- Using the Arduino IDE
- If you are using the Arduino IDE to program the ESP32, you can configure a GPIO pin for digital input using the
pinMode() and digitalRead() functions. - First, in the
setup() function, you need to set the pin mode to INPUT. For example, if you want to use pin 2 as a digital input:
const int inputPin = 2;
void setup() {
  pinMode(inputPin, INPUT);
  Serial.begin(115200);
}
- Then, in the
loop() function, you can read the state of the pin using digitalRead(). The function returns either HIGH (logic 1) or LOW (logic 0).
void loop() {
  int inputState = digitalRead(inputPin);
  Serial.println(inputState);
  delay(100);
}
3. Configuring GPIO Pins for Digital Output
- In the Arduino IDE
- To configure a GPIO pin for digital output, you also use the
pinMode() function, but this time set the mode to OUTPUT. And you use the digitalWrite() function to set the pin's state. - For example, to use pin 2 as a digital output to control an LED:
const int outputPin = 2;
void setup() {
  pinMode(outputPin, OUTPUT);
}
void loop() {
  digitalWrite(outputPin, HIGH);
  delay(1000);
  digitalWrite(outputPin, LOW);
  delay(1000);
}
4. Configuring GPIO Pins for Analog Input
- Using the ADC on ESP32
- The ESP32 has built - in Analog - to - Digital Converters (ADCs). Certain GPIO pins can be used for analog input. For example, pins 32 - 39 are commonly used for this purpose.
- In the Arduino IDE, you can use the
analogRead() function to read the analog value from a pin.
const int analogPin = 34;
void setup() {
  Serial.begin(115200);
}
void loop() {
  int analogValue = analogRead(analogPin);
  Serial.println(analogValue);
  delay(100);
}
5. Configuring GPIO Pins for PWM Output
- Pulse Width Modulation (PWM) Basics
- PWM is a technique used to generate an analog - like signal using digital means. The ESP32 can generate PWM signals on certain GPIO pins.
- In the Arduino IDE, you need to use the
ledcSetup() and ledcAttachPin() functions to configure the PWM parameters and attach a pin to a PWM channel.
const int pwmPin = 2;
const int freq = 5000;
const int ledChannel = 0;
const int resolution = 8;
void setup() {
  ledcSetup(ledChannel, freq, resolution);
  ledcAttachPin(pwmPin, ledChannel);
}
void loop() {
  for (int dutyCycle = 0; dutyCycle <= 255; dutyCycle++) {
    ledcWrite(ledChannel, dutyCycle);
    delay(15);
  }
  for (int dutyCycle = 255; dutyCycle >= 0; dutyCycle--) {
    ledcWrite(ledChannel, dutyCycle);
    delay(15);
  }
}
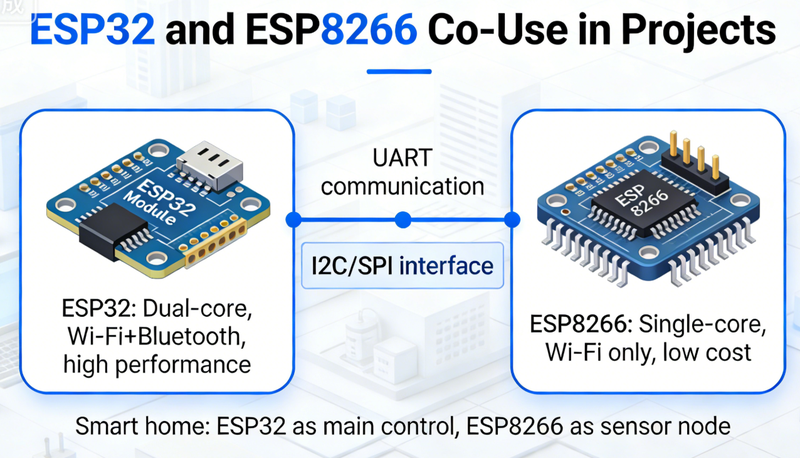
6. Configuring GPIO Pins for Communication Protocols
- UART Communication
- To configure GPIO pins for UART communication, you need to set up the UART interface. In the Arduino IDE, you can use the
Serial object. For example, if you want to use pins 16 and 17 for UART communication:
void setup() {
  Serial.begin(115200);
  Serial2.begin(115200, SERIAL_8N1, 16, 17);
}
void loop() {
  if (Serial2.available()) {
    char c = Serial2.read();
    Serial.print(c);
  }
  if (Serial.available()) {
    char c = Serial.read();
    Serial2.print(c);
  }
}
- I2C Communication
- For I2C communication, you can use the
Wire library in the Arduino IDE. First, you need to initialize the I2C bus in the setup() function.
#include <Wire.h>
void setup() {
  Wire.begin();
  Serial.begin(115200);
}
void loop() {
  Wire.beginTransmission(0x50);
  Wire.write(0x00);
  Wire.endTransmission();
  Wire.requestFrom(0x50, 1);
  if (Wire.available()) {
    int data = Wire.read();
    Serial.println(data);
  }
  delay(1000);
}
FAQ
- Q: Can I change the function of a GPIO pin during program execution?
- A: Yes, you can change the function of a GPIO pin during program execution by re - calling the appropriate configuration functions. For example, you can change a pin from digital input to digital output.
- Q: Are there any limitations to the number of pins I can configure for a specific function?
- A: Yes, there are limitations. For example, the number of available ADC channels is limited, so the number of pins that can be used for analog input is restricted. Also, the number of PWM channels is limited, which affects the number of pins that can be used for PWM output.